
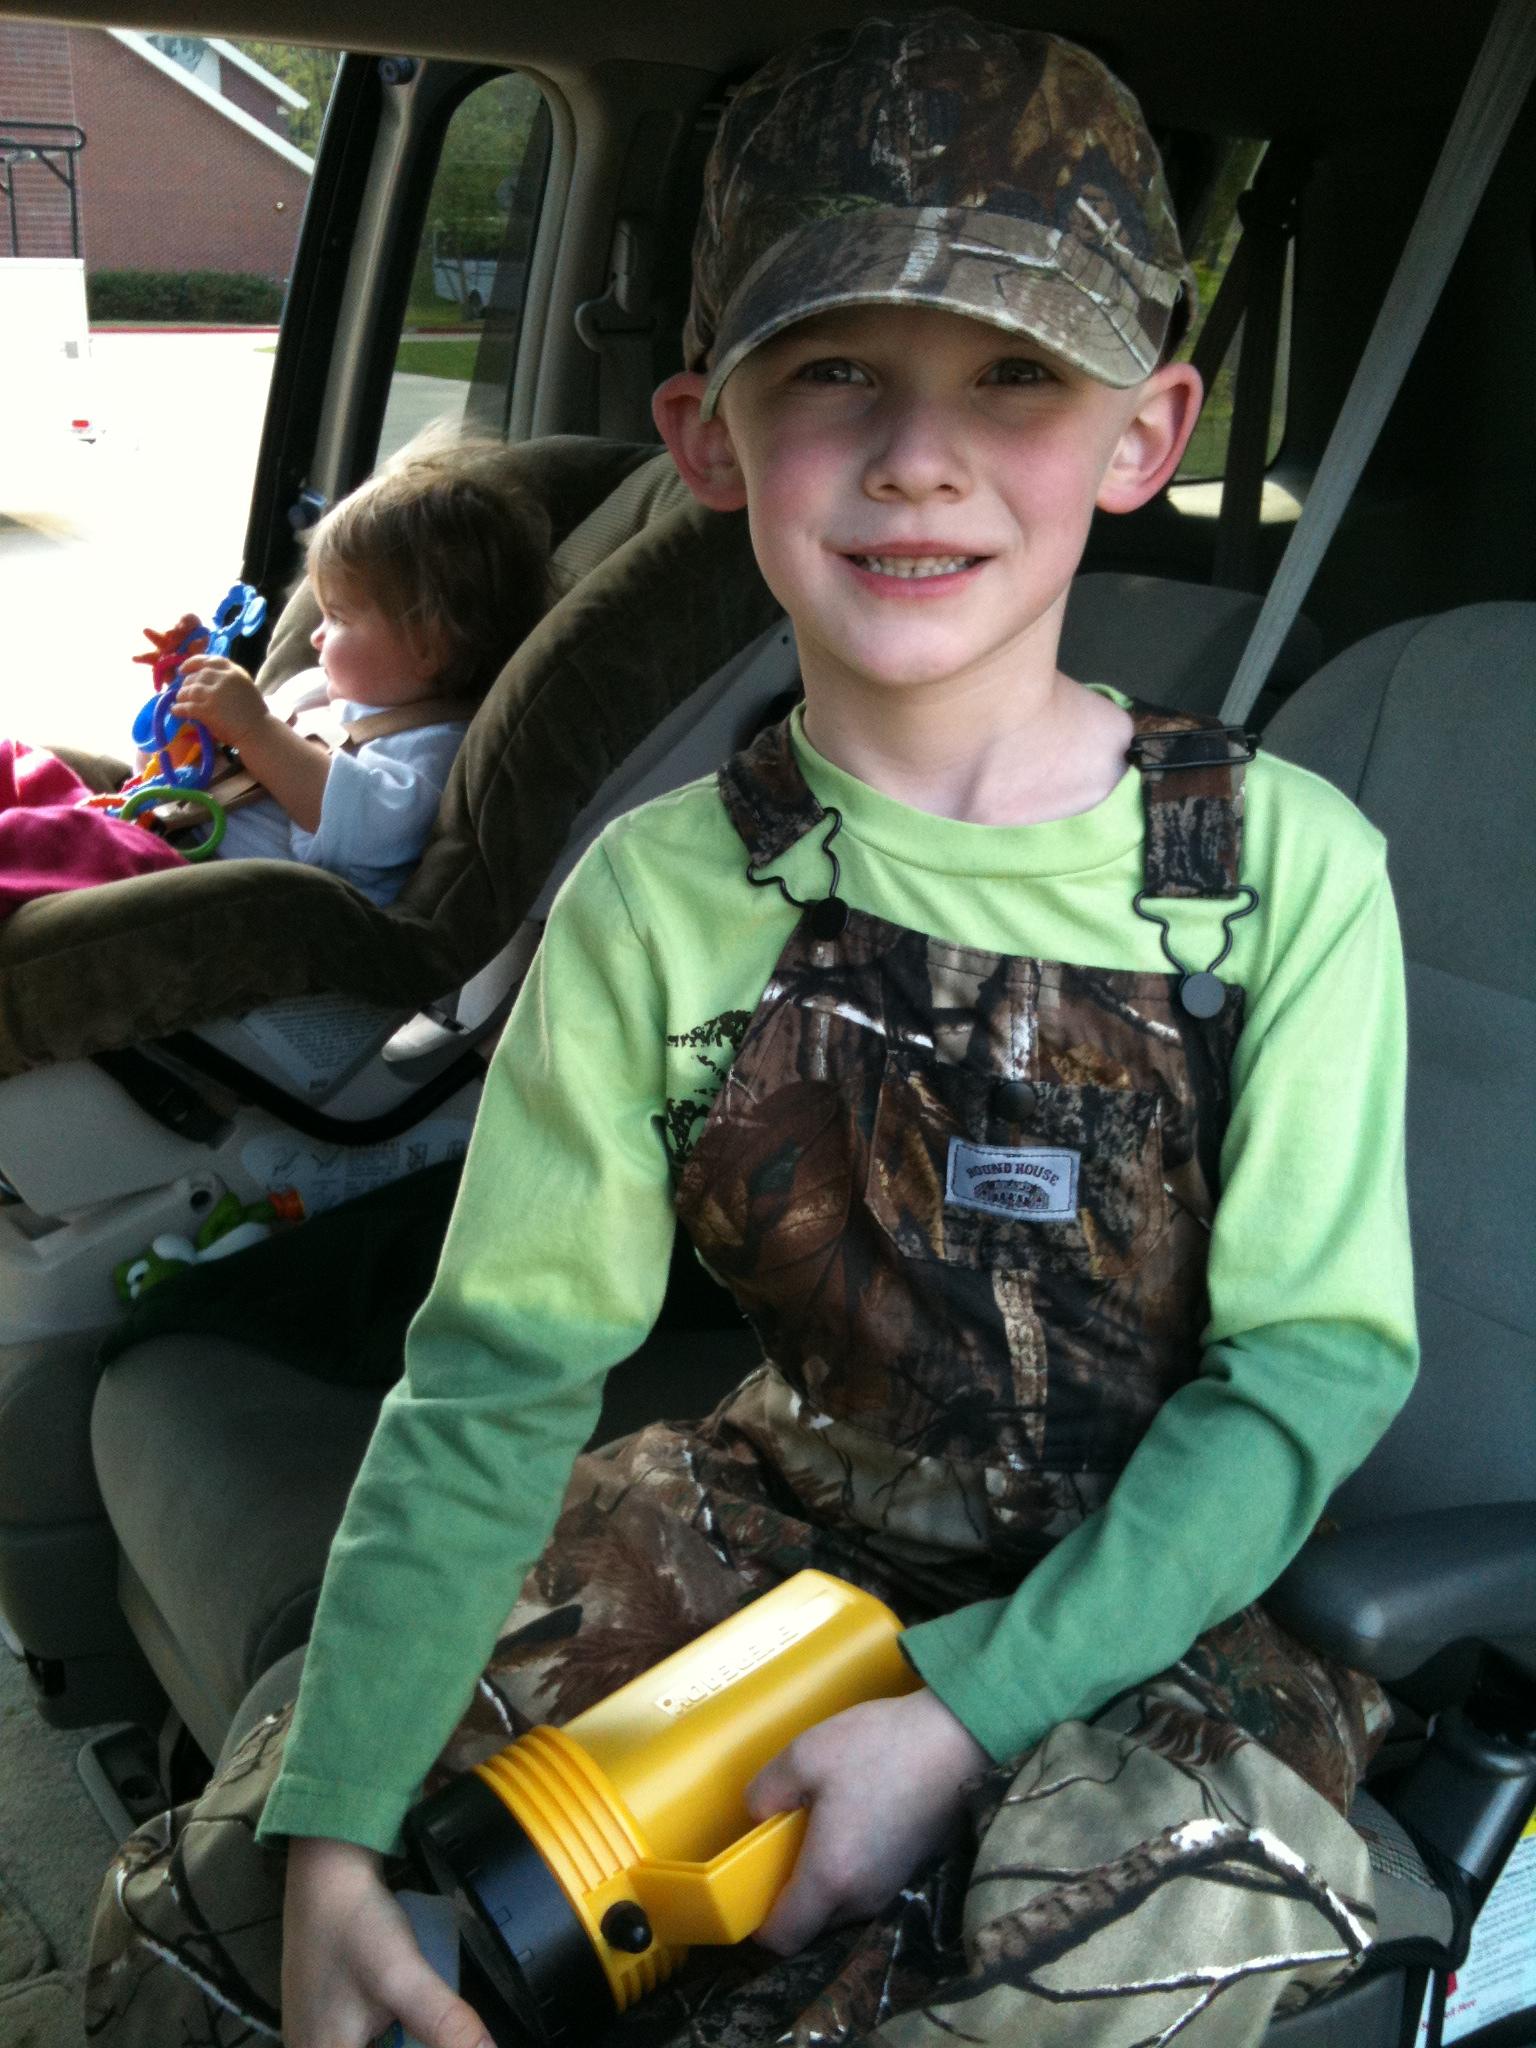
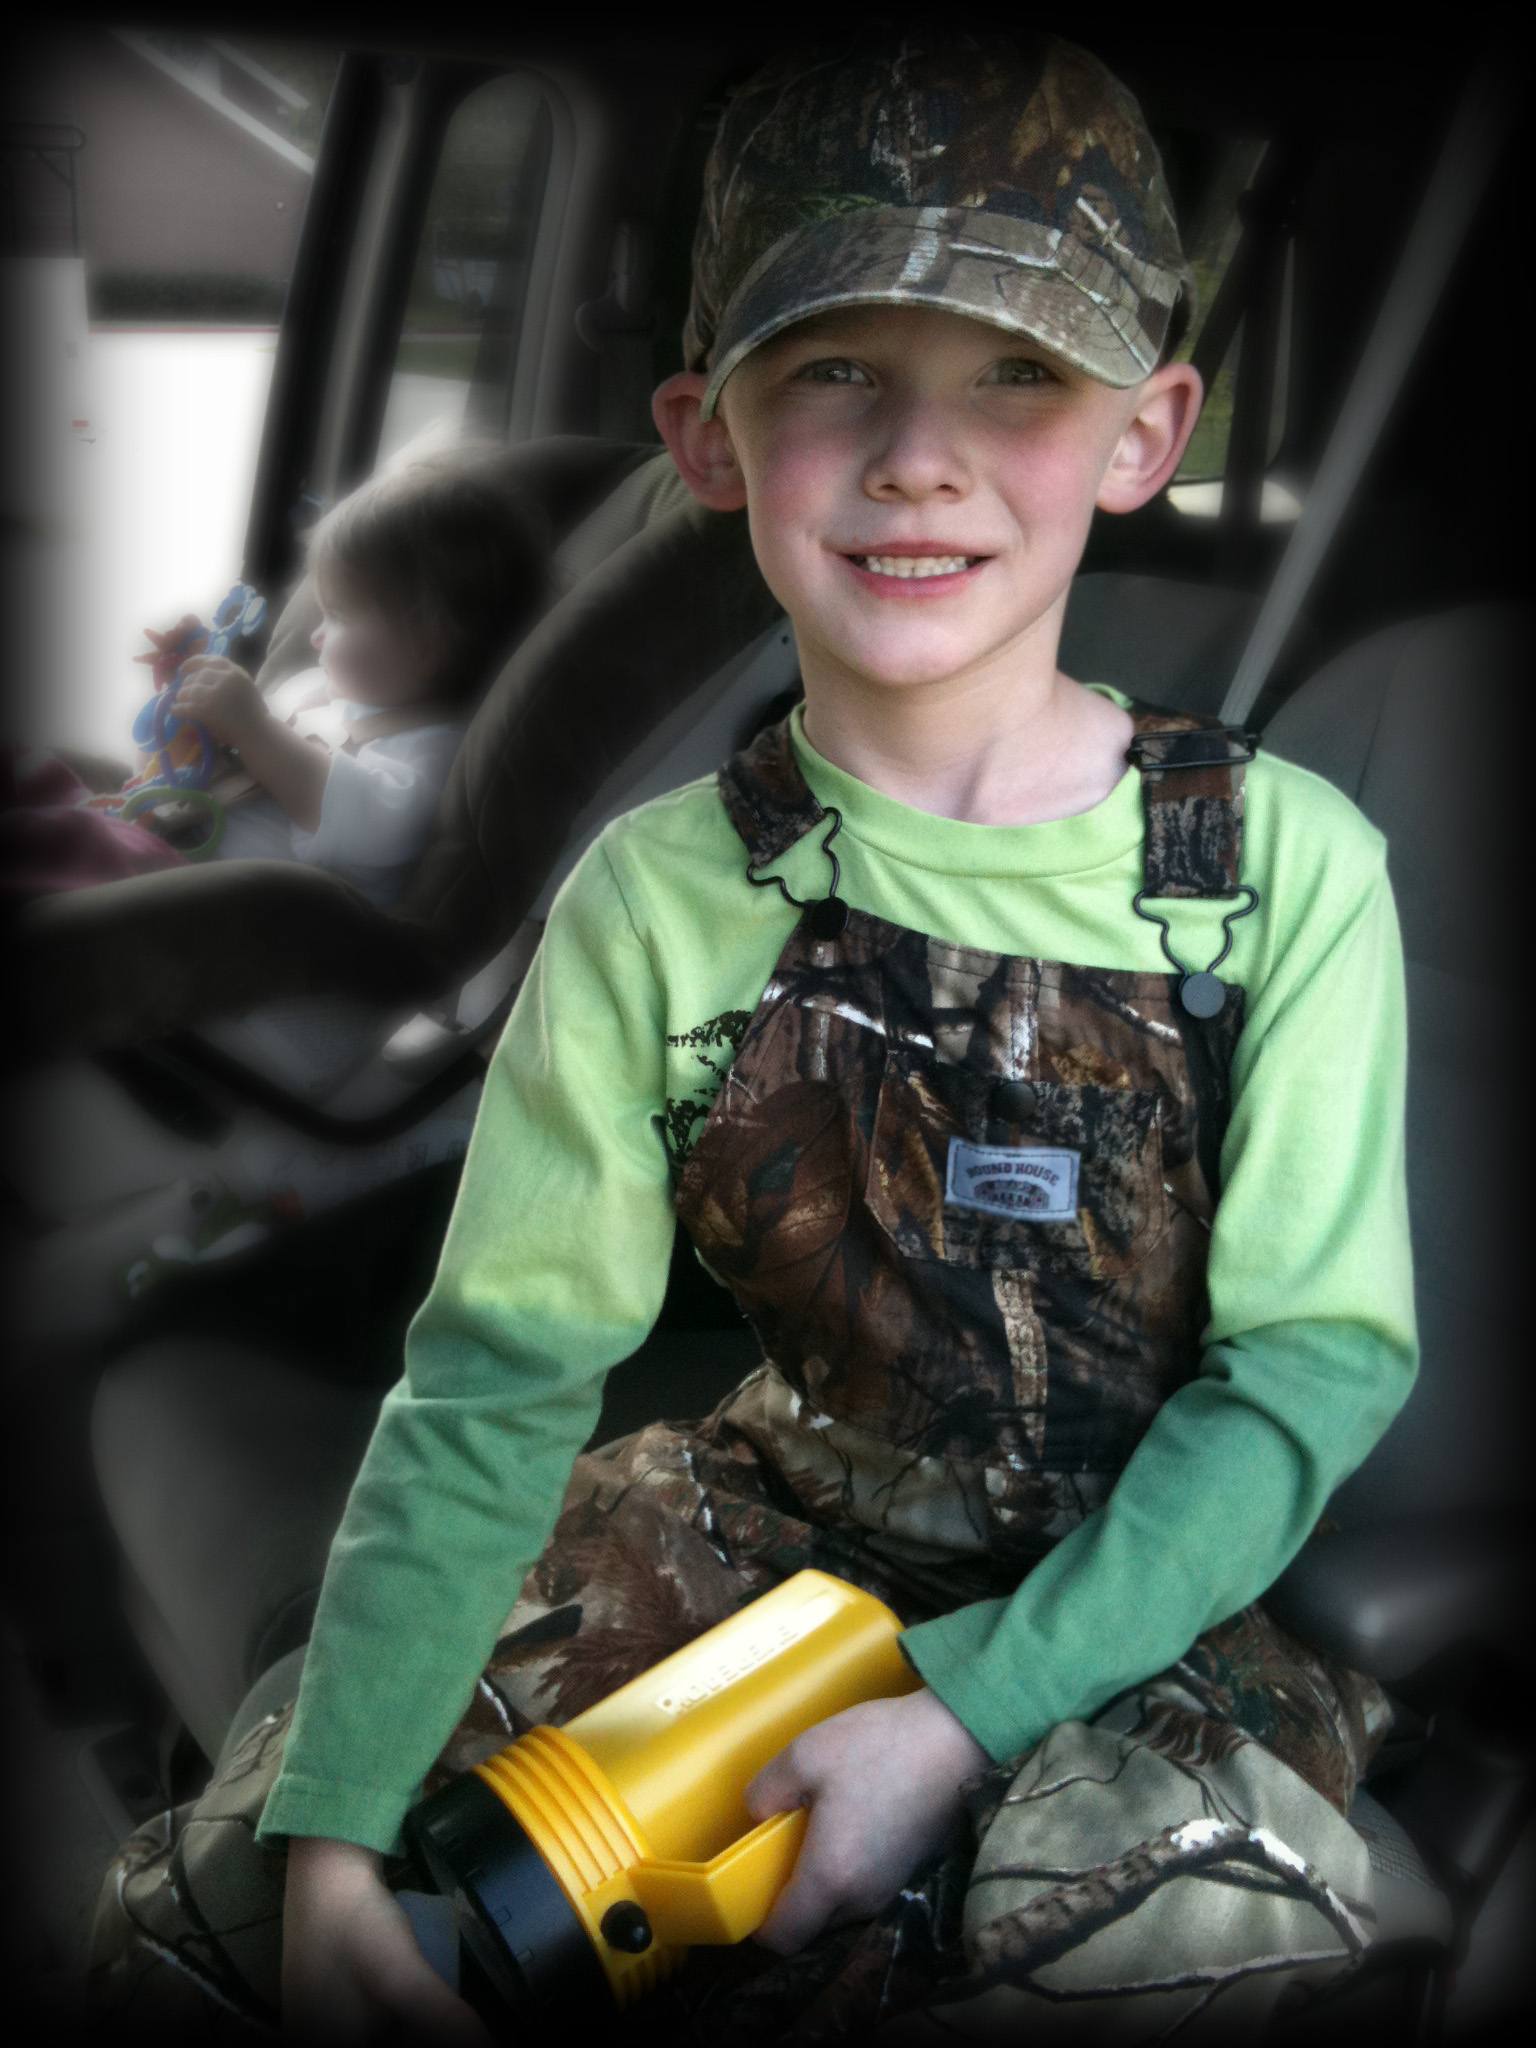
Recently, I retouched this picture of my son so that he was more of the focus. I had a friend that asked how I'd done it, so I decided to create 2 tutorials for this effect.
PSE 9: Gaussian Blur for Background
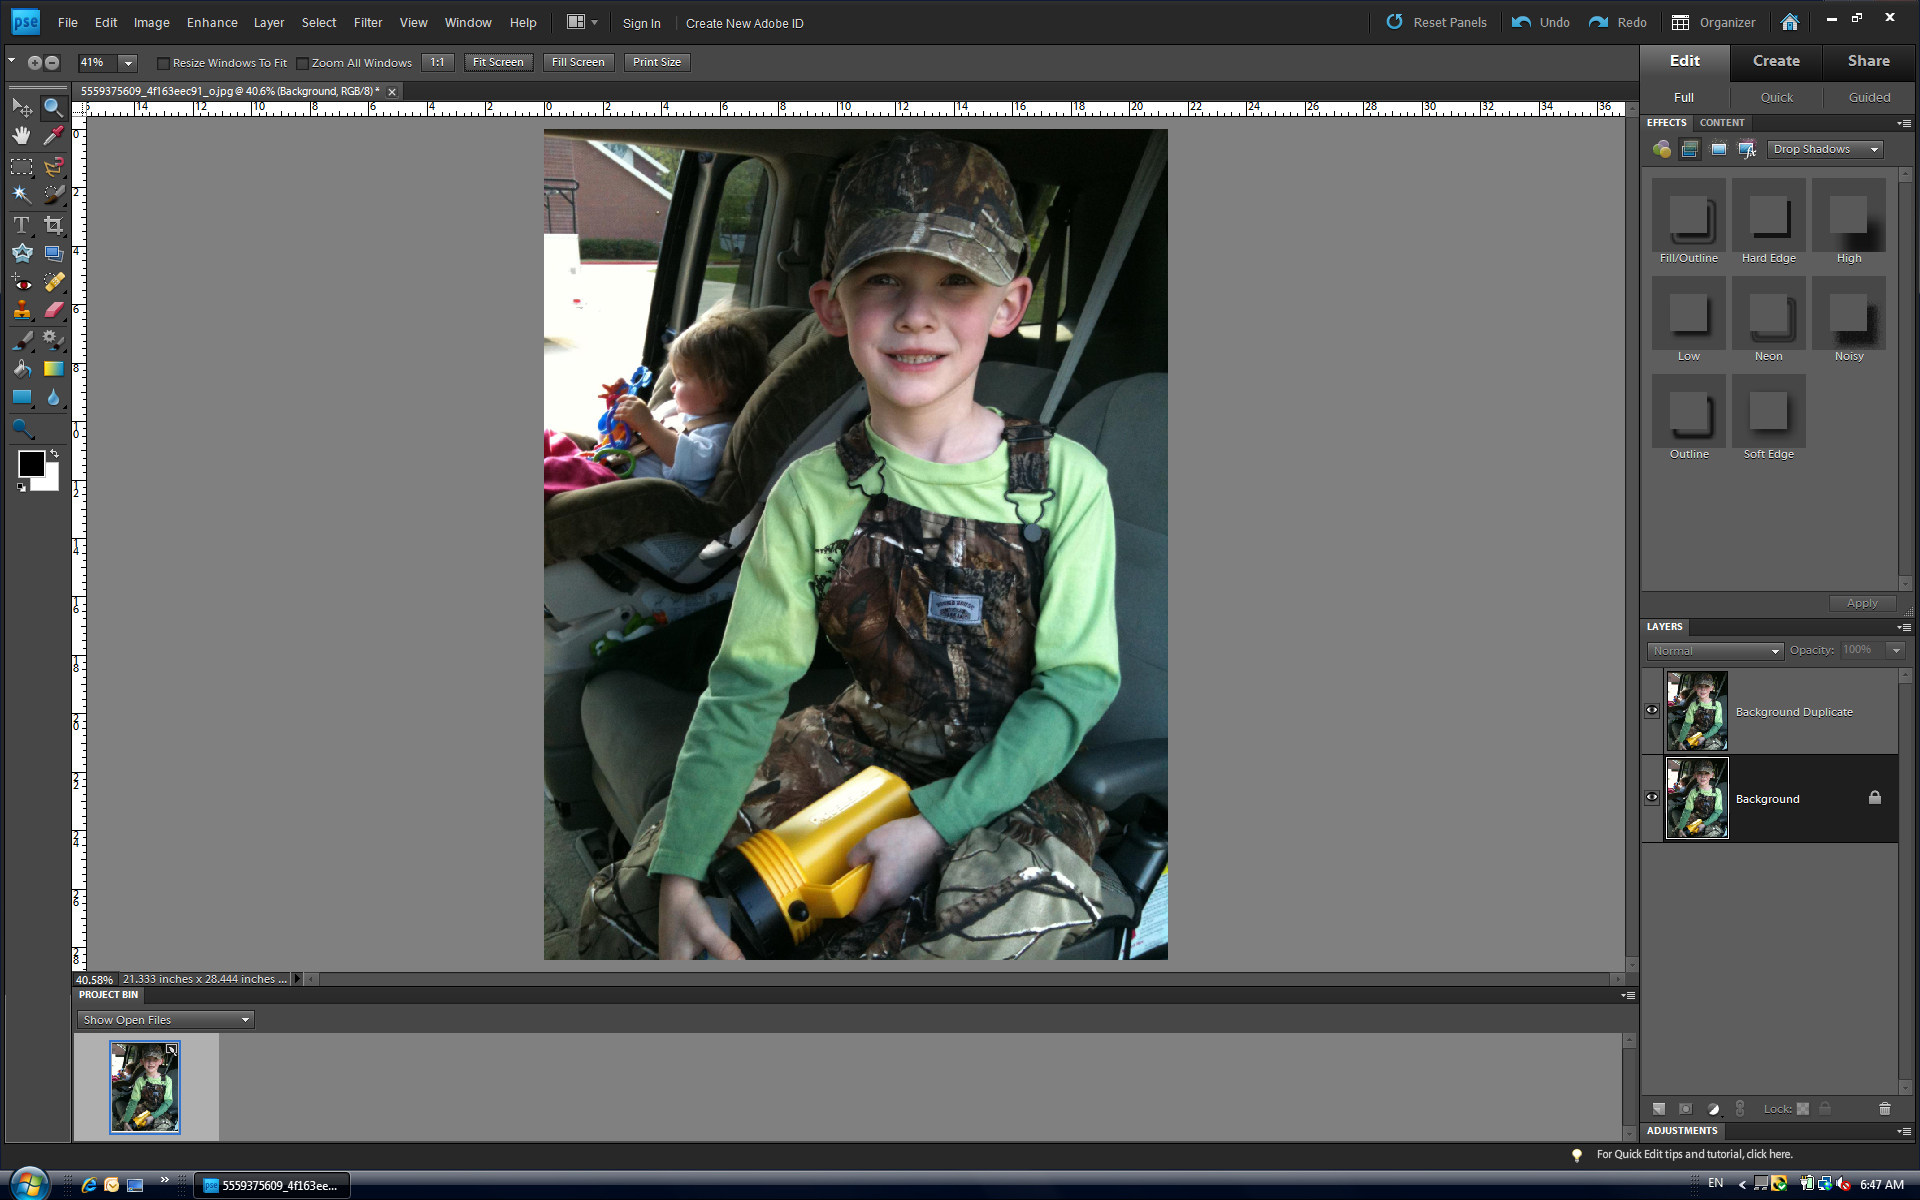
(1) After opening your image, create a duplicate of the image by right clicking on it in the palate. Then select duplicate layer. PSE allows you to rename this dupe as anything you'd like.
(2) Select the 'Selection Brush Tool'.
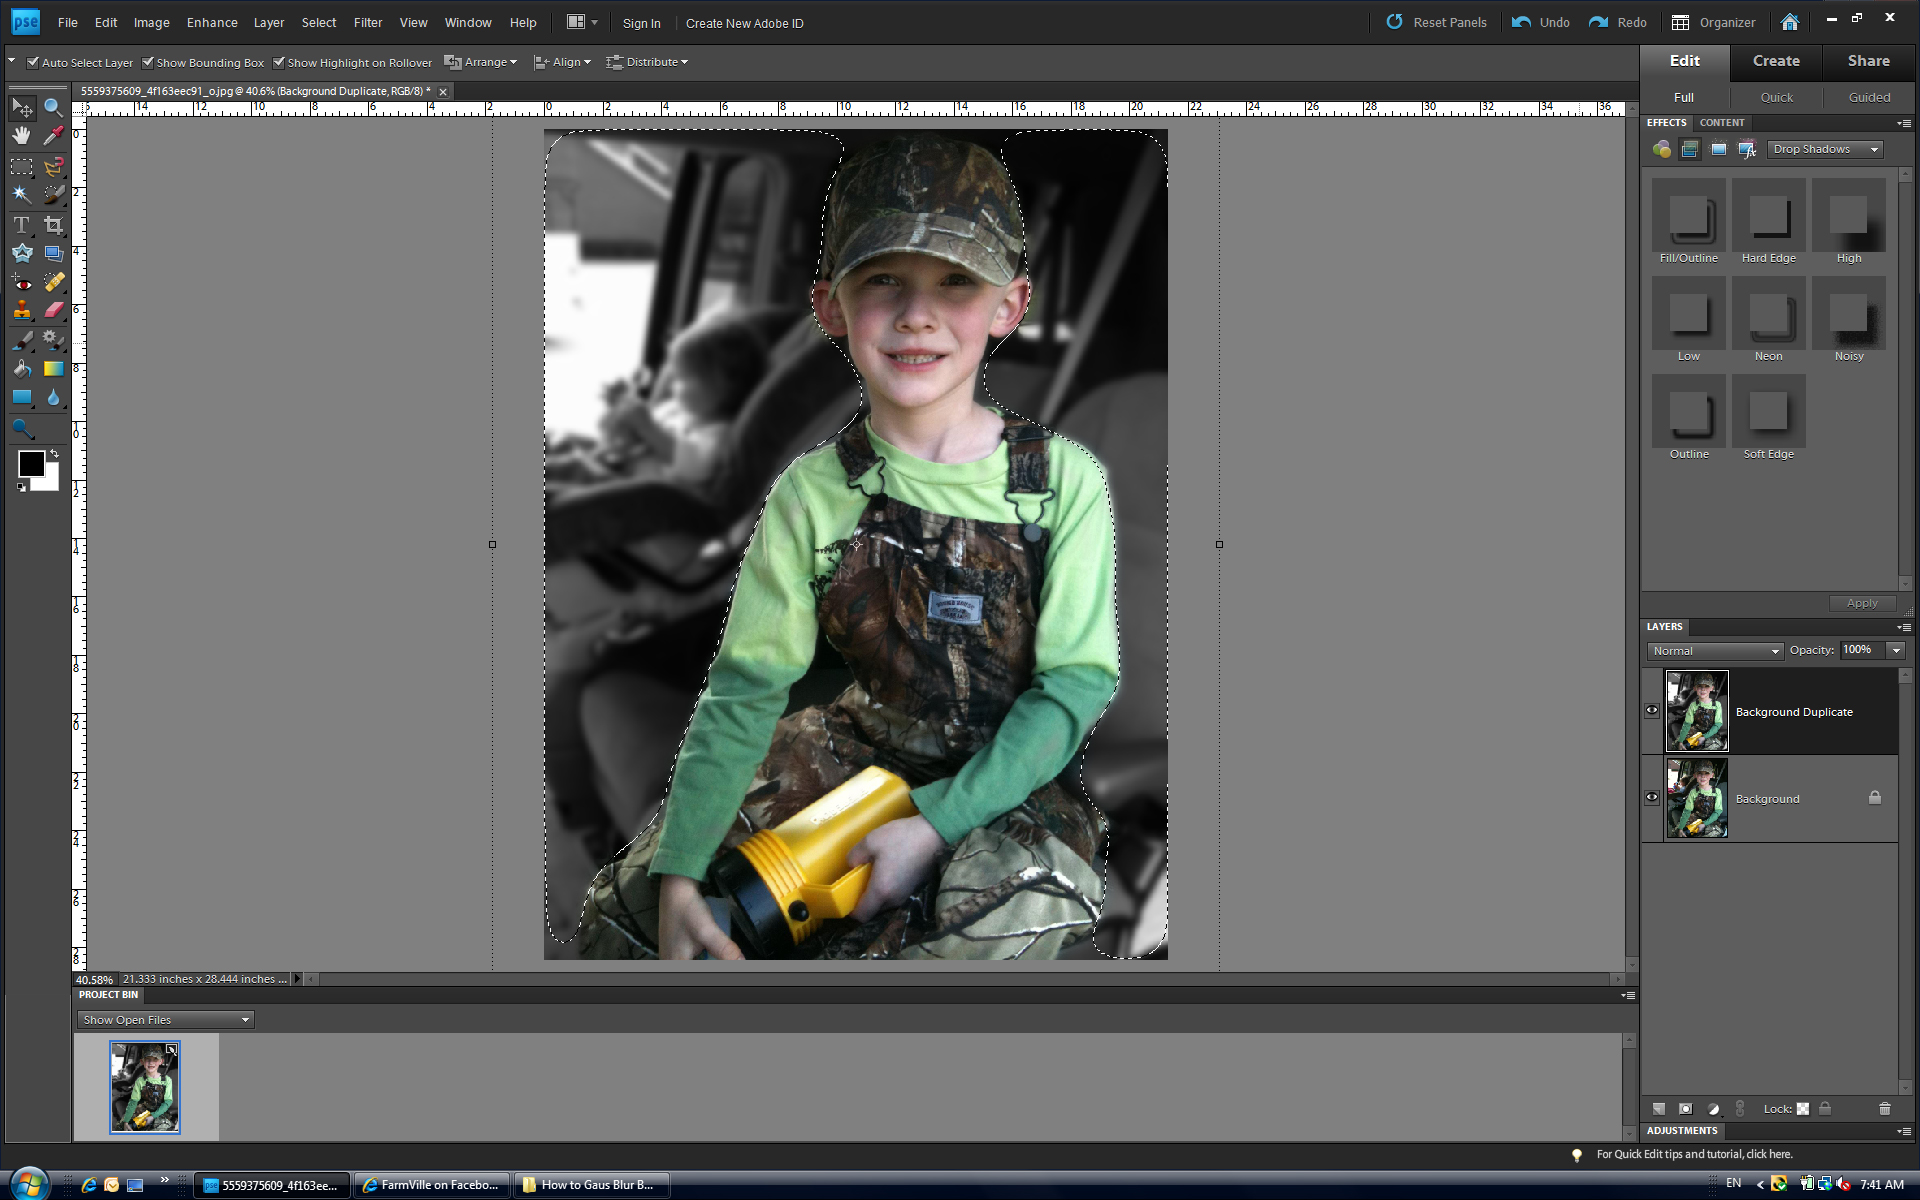
(3) Use the selection brush tool to select the object that you want to be the most prominant in the shot.
(3) Use the selection brush tool to select the object that you want to be the most prominant in the shot.
(4) Under the 'Selection' menu, chose inverse. This will select everything but the item that you want to be highlighted.
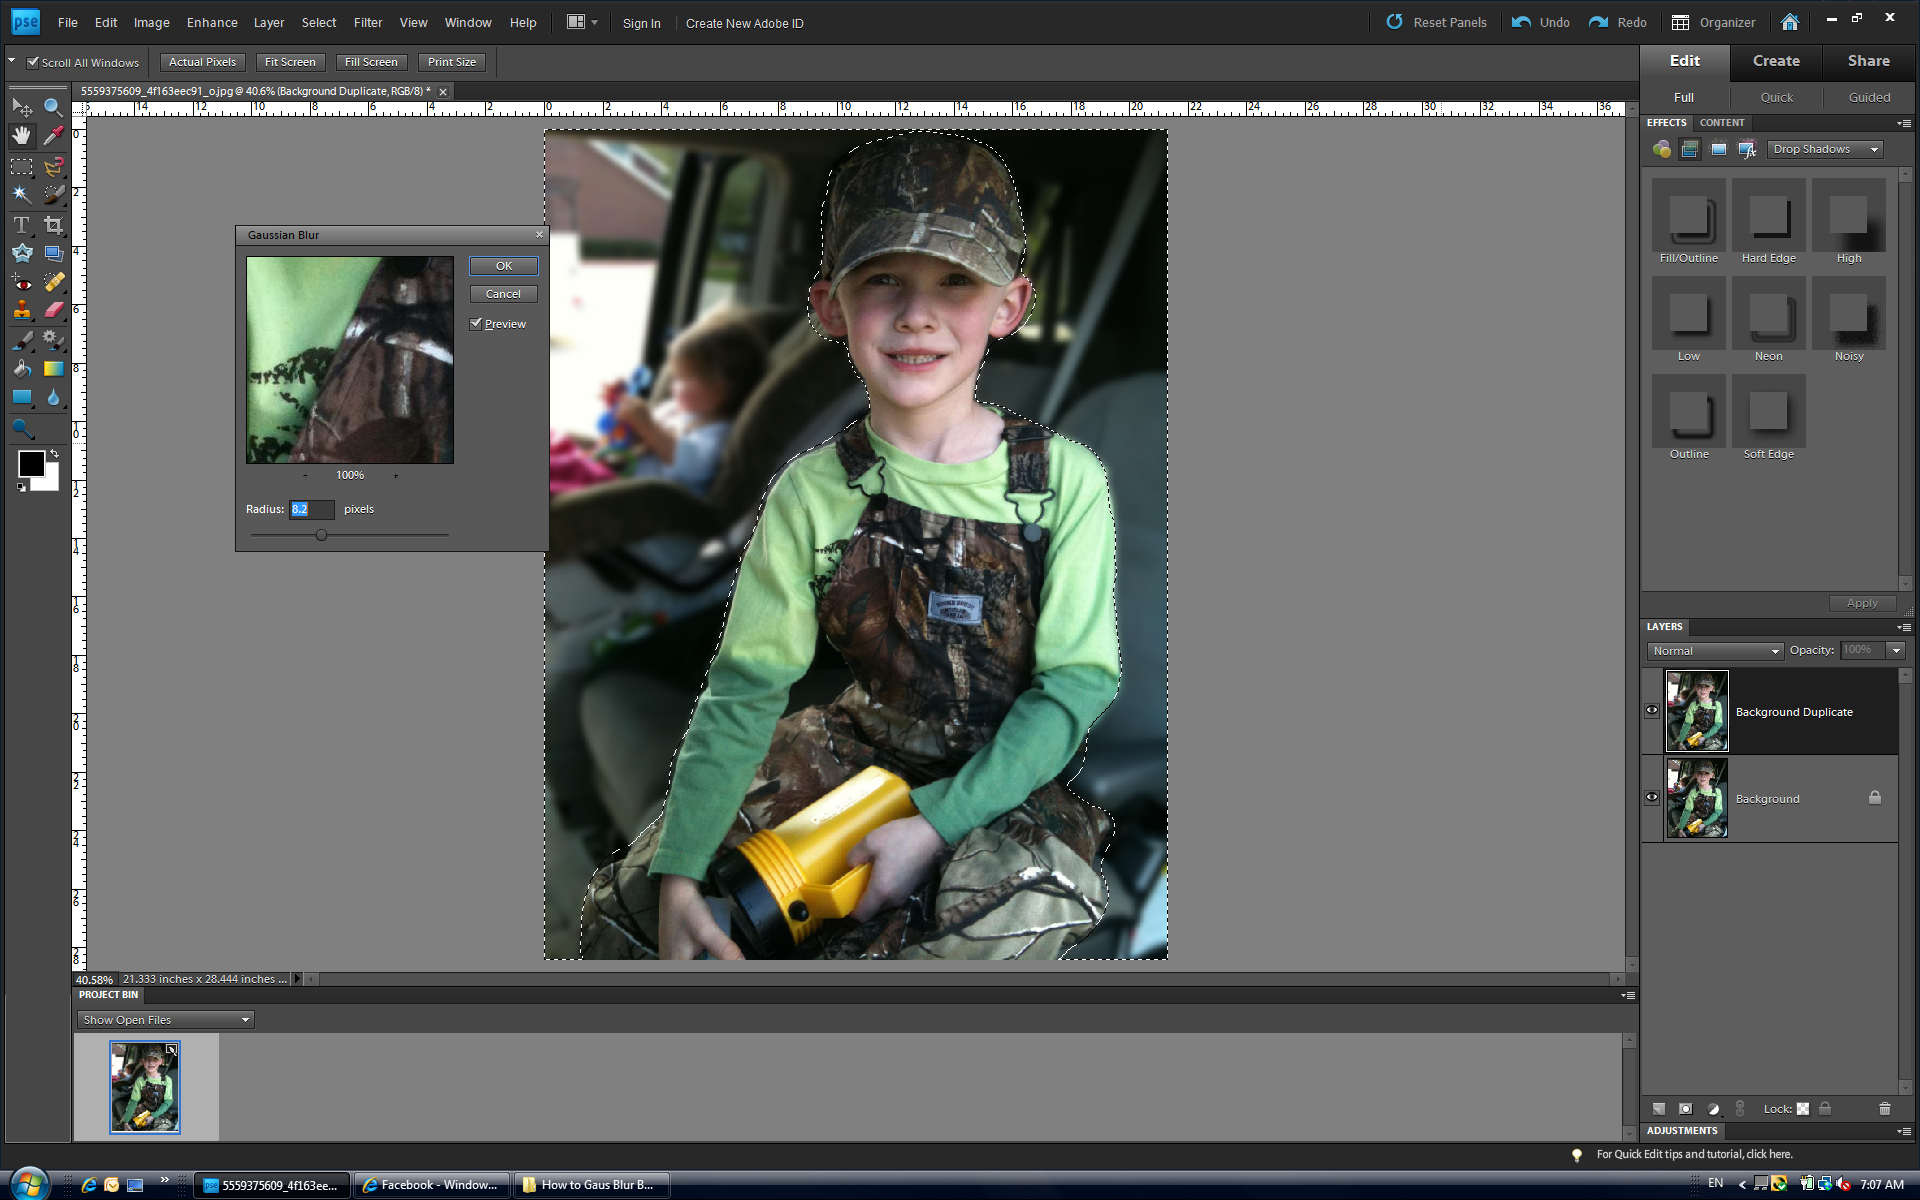
(5) Select the duplicate layer. This will insure that you are making changes to your duplicate and not to your original picture. From the 'Filter' menu, chose blur > Gaussian Blur. You can adjust the blur radius so that the background is blurred to your liking.
*Optional*
*Optional*
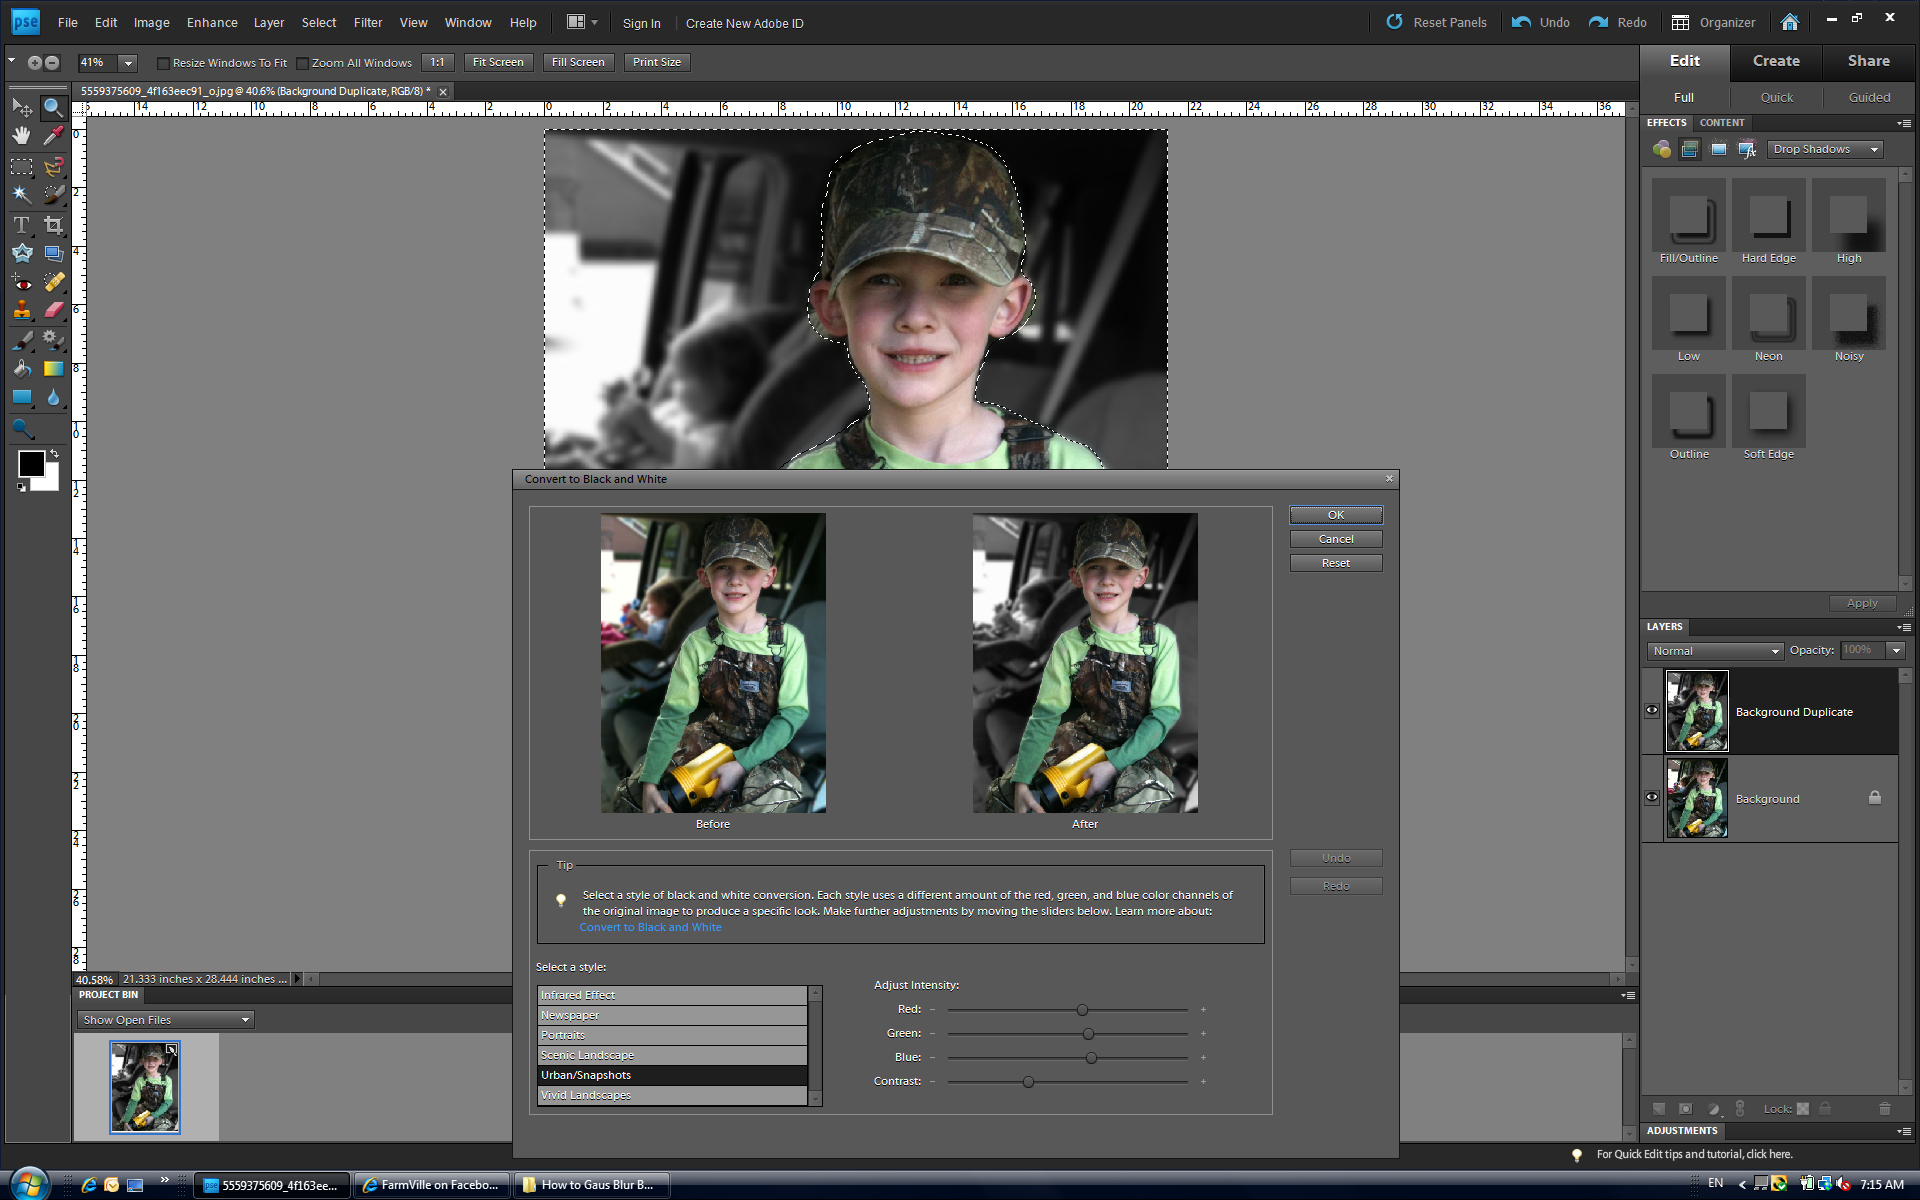
(6) I decided that, even though the background was blurry that it was still detracting from the main image. So... I decided to reduce the background color. I did this by changing the background to B&W. So, I selected enhance > convert to B&W. Then I chose the B&W that I liked best from thhe menu on the left.
(7) In order to ease the transition between my son and the background, I opted to feather the edge. To do this, I chose select > feather. Then I feathered the edge by 50 px.
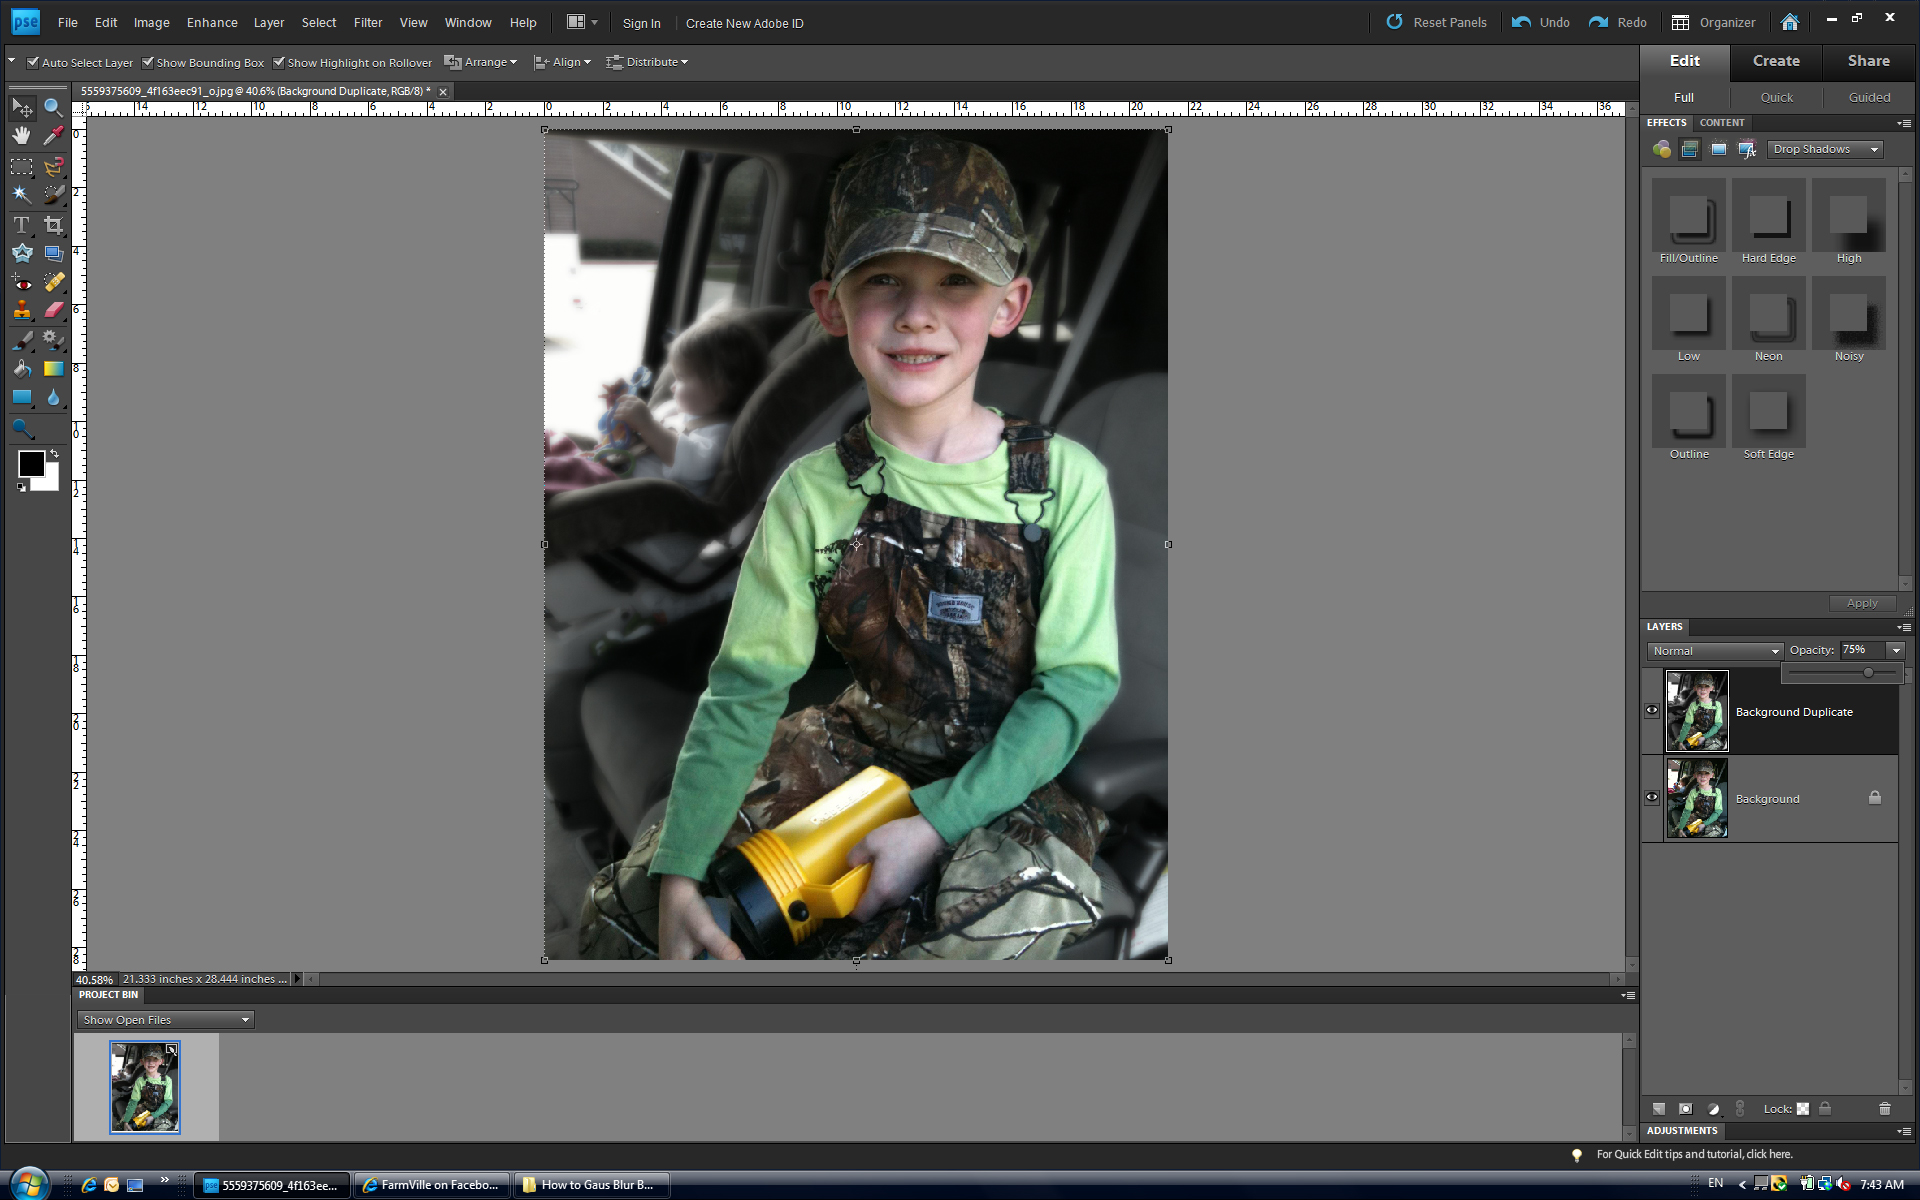
(8) In order to allow for some of the color to still show through the background, I altered the duplicate layer's opacity to 75%.
This is the result!

PSE 9: Black Frame Tutorial
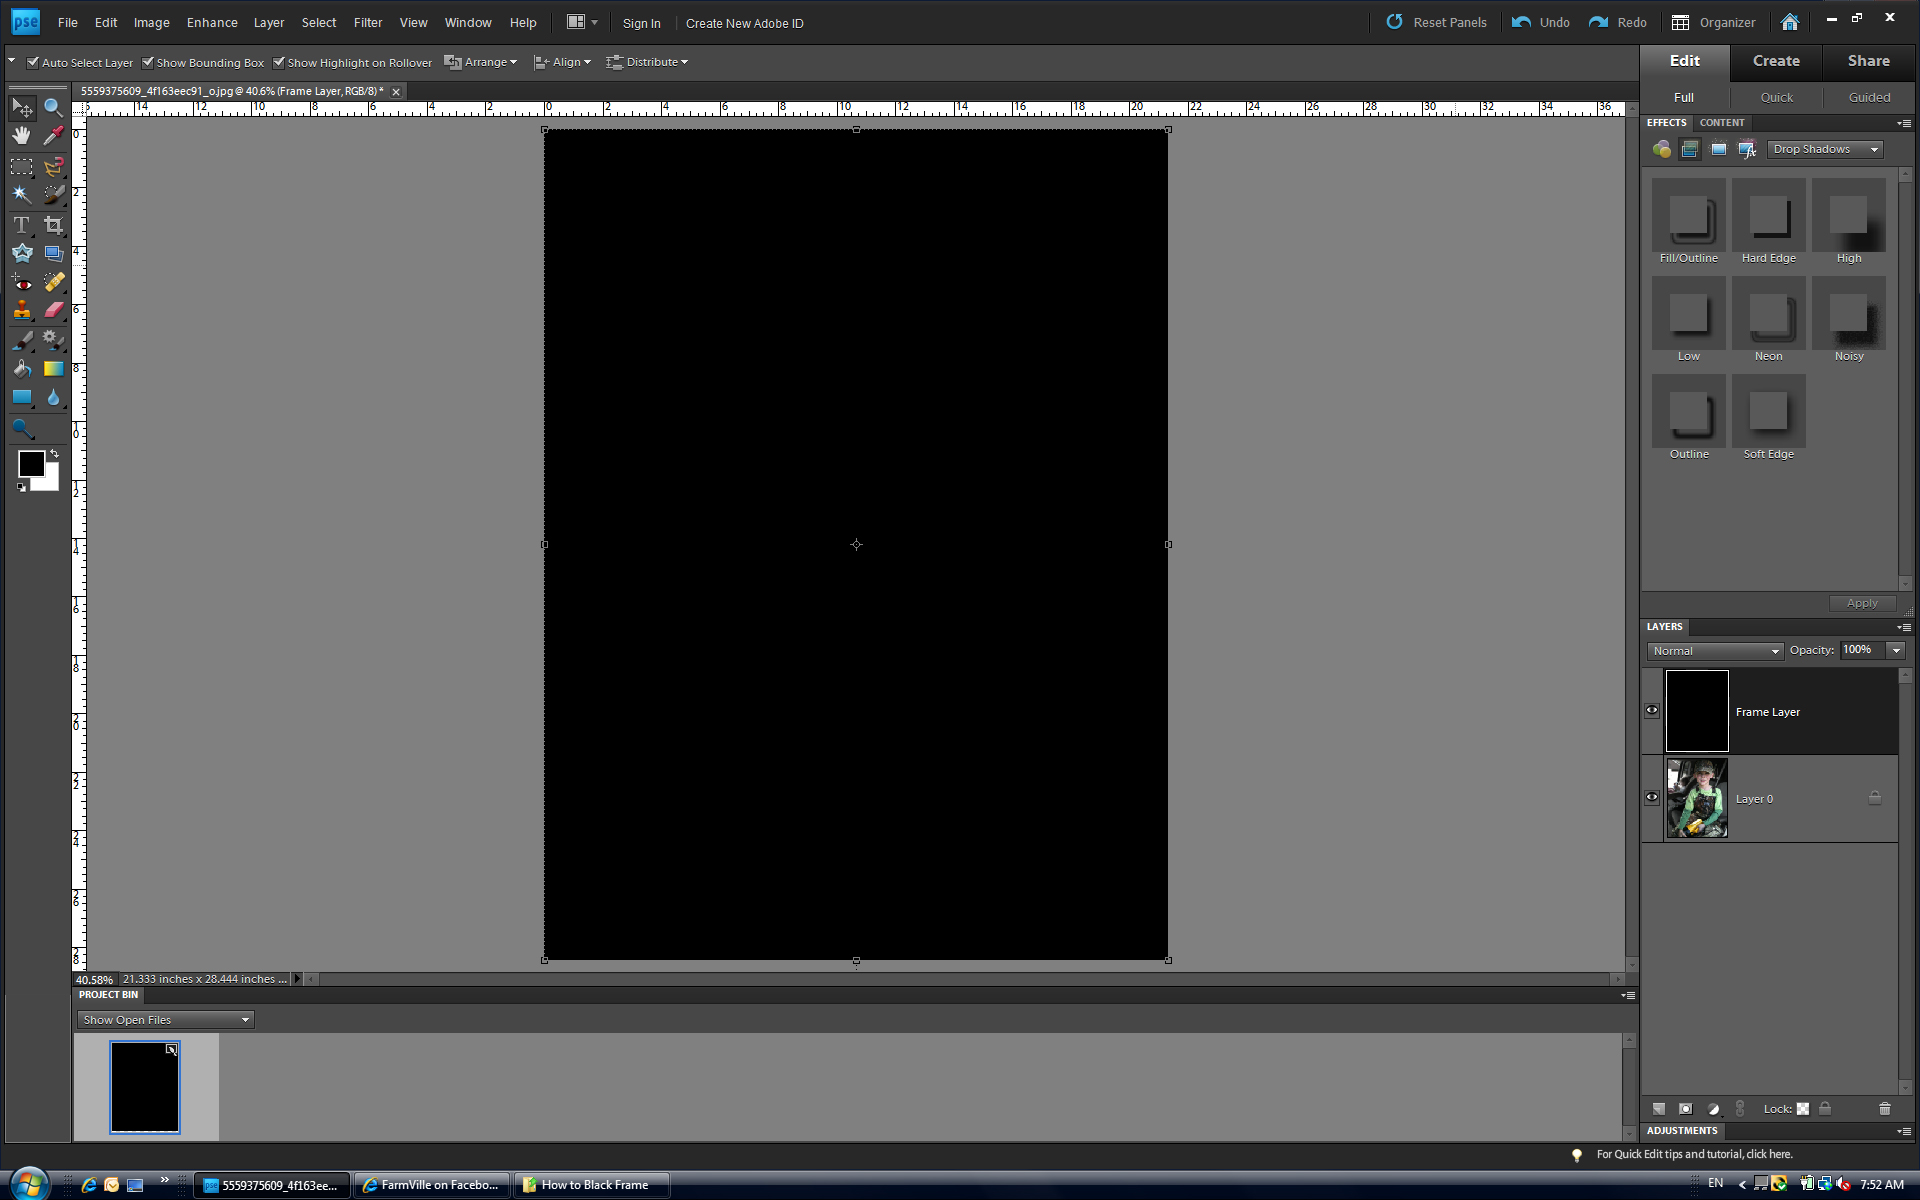
(1) Start with whatever image you'd like. Create a blank frame layer on top of your original.
(2) Use the paint bucket tool and dump black into the blank frame layer. *You can use whatever color you'd like.*
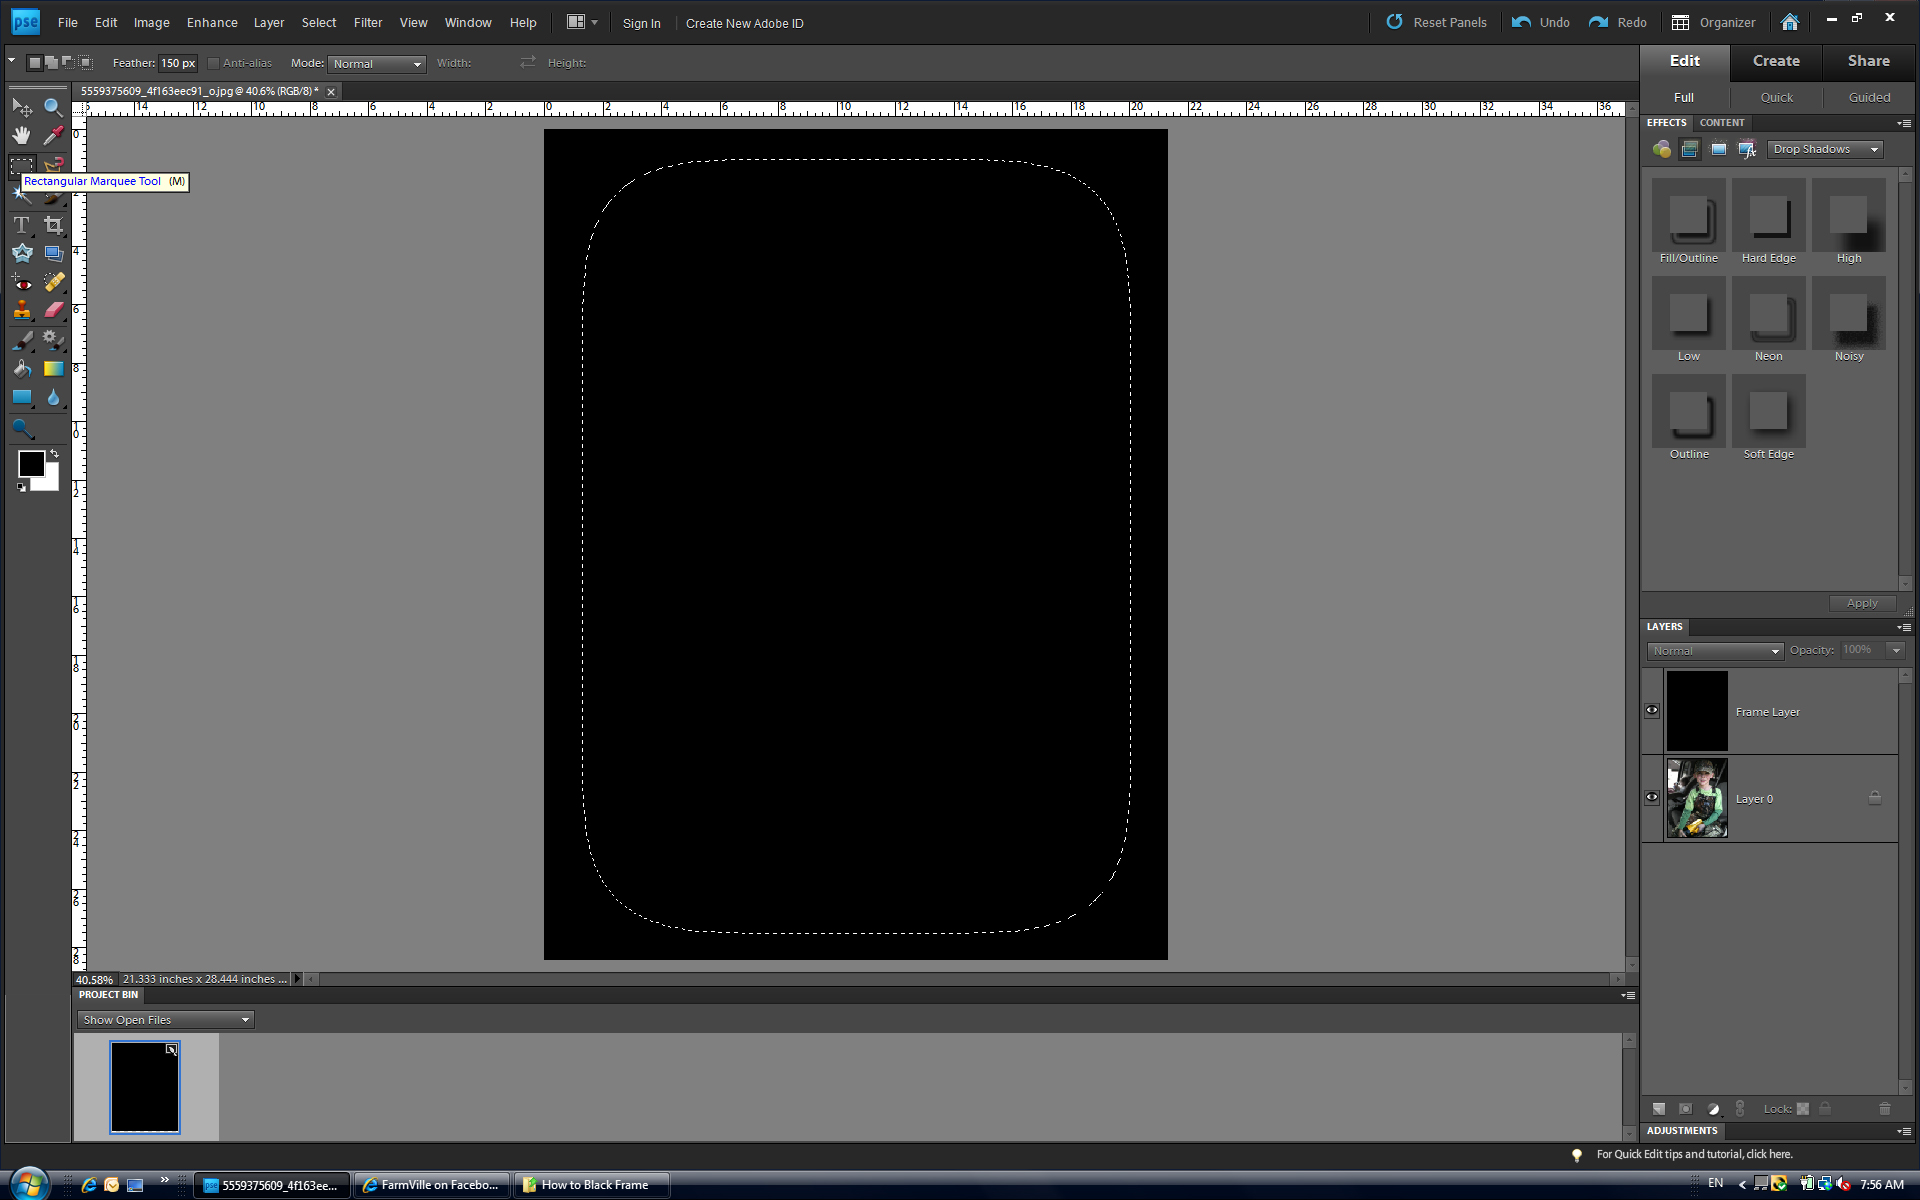
(3) Use your rectanuglar marquee tool to draw a rectangle in the space that you want to be the main focus of the picture. You can alter the feathering of this marquee tool at the top of the page when you have the tool selected. This picture shows the feather at 150 px, but I altered that to 50 px.
(4) Hit the delete key and the middle of the rectangle that you drew will be erased, leaving a feathered black edge. You can then alter the opacity of that layer to create a darker or lighter framed effect.
After both of these effects combined, I came up with this result:
No comments:
Post a Comment